How To Remove Your Photo’s Background in Canva The Correct Way
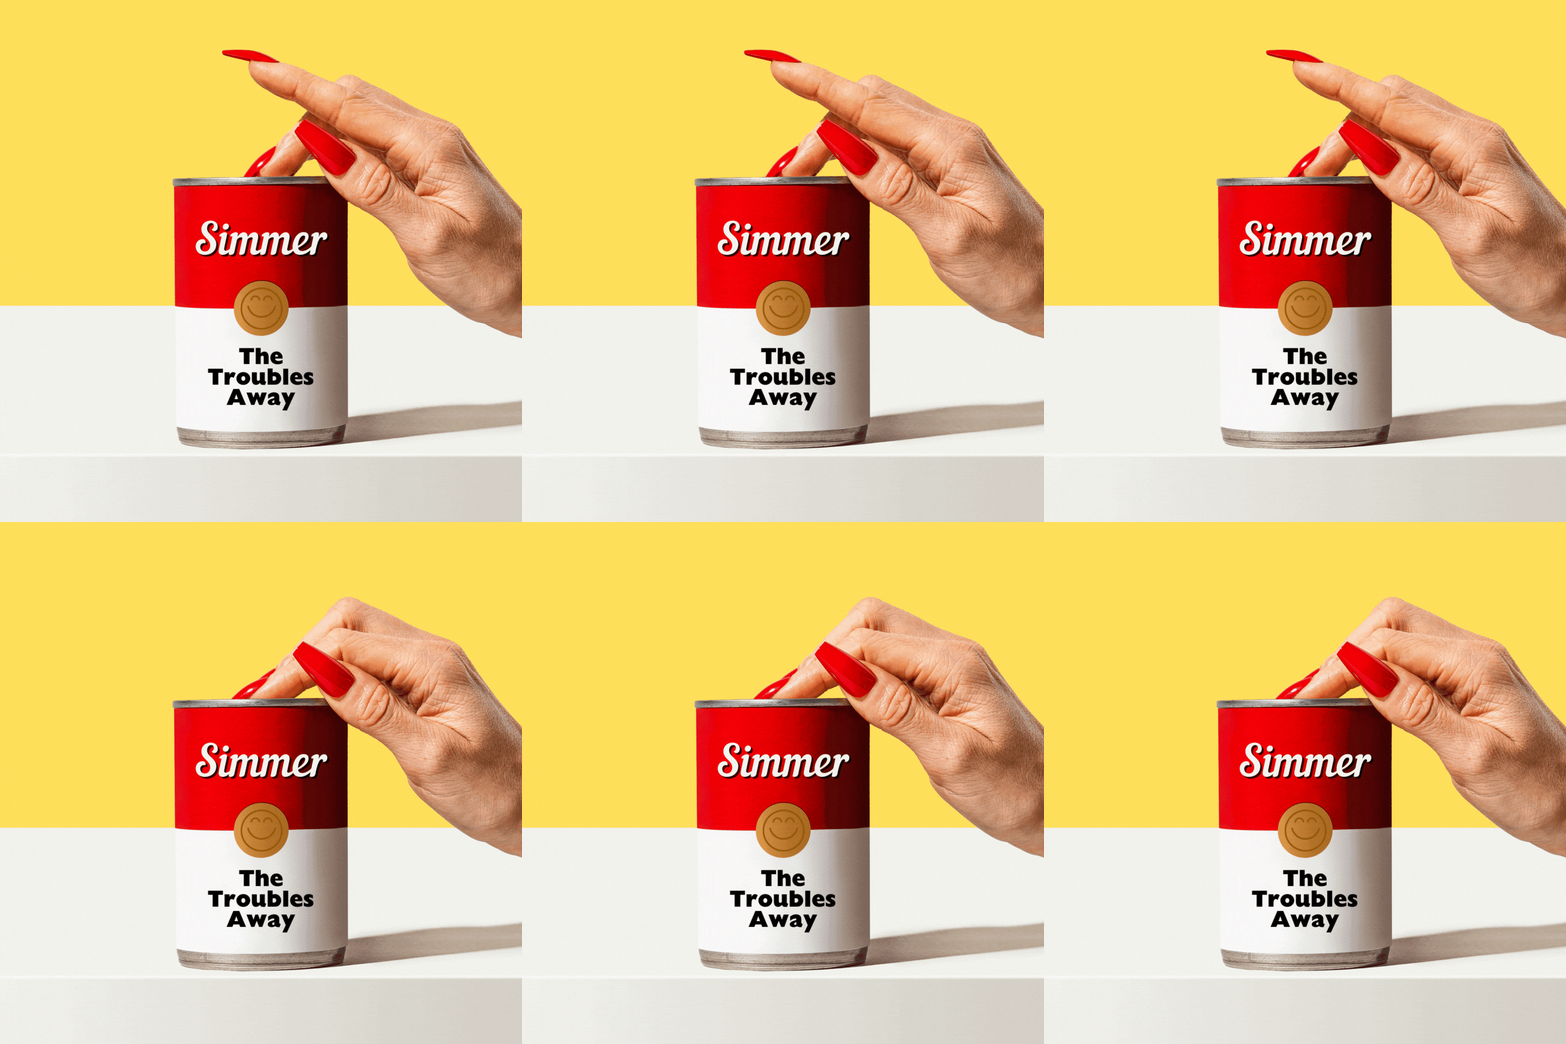
Look at that beautiful open space just begging for you to drop your product onto.
Hello friend! This month’s collection is about how the changing seasons can conjure different moods and textures even in the oh-so-familiar settings that intertwine our busy and wholesome lives.
Whether it be a favorite cafe, park, or cozy room—the shift in mood that arises with the crisp, auburn shimmer that Fall glazes over these settings, can make all of the familiar places feel “new” in an instant.
But the sweetly comforting Starbucks Pumpkin Spice Lattes put aside, I want to also talk about something real here.
There’s a common issue that I notice rising in the creative world: photographers discovering their work being utilized without permission for products of other businesses.
There’s a few reasons why this is bad:
1 — It is illegal.
2 — They look terrible.
3 — It ruins the reputation of both the business and the photographer.
Instead of whining about the problem, I decided to create a solution. Can you say, “Canva mockups”?
Here is how it works. You take a simple photo of your product on a white background with your phone, drop it onto one of Shamblen Studios pre-made backgrounds, add a shadow to your product to match the image—and VOILA.
It’s easy, looks good, and best of all, is LEGAL! A win-win for everyone.
What’s even better? You can do this from the Canva app on your phone or on your desktop.
Let me show you how to remove the background from your photo in Canva, my dear friend.
First of all, you need a great backdrop to apply your product to. That’s where Shamblen Studios comes in.
In case you’re not familiar with this library, what I do is create a new collection of images + GIF animations and mockups each month. Each concept is brainstormed by me, photographed by me, and edited by me—whoo! A jill of all trades.
Psst… if you’d like to try one month FREE join below!
You can access each image in Canva to modify the background and text of each professionally curated image with super duper ease.
Yes, there’s even editable GIF animations in the Shamblen Studios library. Fast, fab, & fun!
Now, I don’t mean to brag, but how many other stock websites allow you do to that?
This month, I created a set of different themed backgrounds: there’s seasonal ones, food, travel, desktop themes… you get the idea. These will be the basis for our delightful tutorial below.
Now, back to said tutorial!
Pick your background
In the Shamblen Studios library, there’s a nifty “backgrounds” filter option. Simply click on the one you want and it’ll take you directly to the Canva template to customize!
Clicking on an image in the Shamblen Studios catalog will take you to a customizable template where you can change the background color and add in your own product.
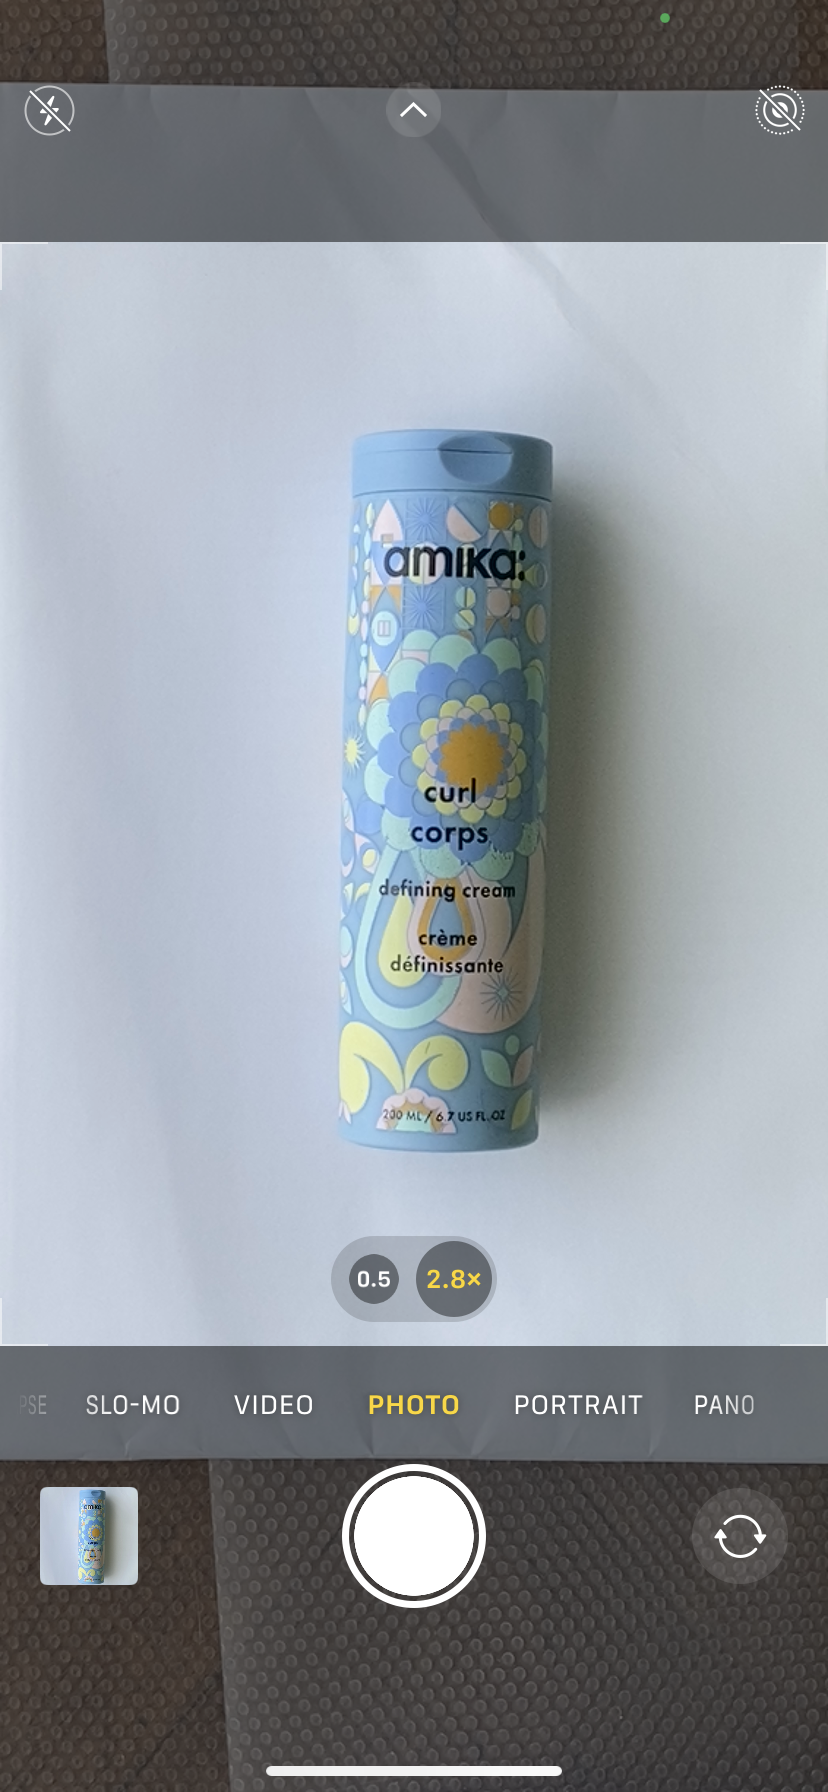
2. Photograph your product
Pick a contrasting background for your product (white or a neutral gray is usually best to minimize color reflections into your product). This can be a simple piece of printer paper!
Find a window with soft, but strong light coming through. Set your product on your paper take a photo of it directly overhead.
Make sure to minimize the shadows in your image; this step will be important for down the road!
By the way, your cherished iPhone works just fine for this—no fancy camera needed here!
3. Cut out the background
Remember that lovely background we picked from the Shamblen Studios library earlier? Drop that photo directly onto it!
Click on your photo and navigate to Edit Photo > Tools (or Effects > Tools in the mobile app) and then tap the BG Remover prompt.
Just tap the BG Remover button and wait for the background to disappear!
I’ve had luck with it working perfectly automatically on the first click, but if you need to adjust the cut out areas, just tap the BG Remover again and you can brush the parts that it may have missed.
4. Add a shadow
Now, with your photo still selected, scroll to the Effects category and tap the Shadows button.
Tap the Drop shadow option and play with the options there. Be mindful to match the shadows within the template to make it realistic.
And that’s it!
Now go and enjoy this month’s offerings the right, proper, and creative way. Muah!
Go make that moolah with your beautiful, custom product photos!


